Nginx 文件下载功能
1
2
3
4
5
6
7
8
9
10
11
12
13
14
15
16
17
18
| server {
listen 80;
server_name localhost;
location ^~ /download/ {
alias /home/webhtml/;
if ($request_filename ~* ^.*?\.(html|doc|pdf|zip|docx|txt)$) {
add_header Content-Disposition attachment;
add_header Content-Type application/octet-stream;
}
sendfile on; # 开启高效文件传输模式
autoindex on; # 开启目录文件列表
autoindex_exact_size on; # 显示出文件的确切大小,单位是bytes
autoindex_localtime on; # 显示的文件时间为文件的服务器时间
charset utf-8,gbk; # 避免中文乱码
}
}
|
关键点解析:
其中
server_name localhost; 代表服务名,在这里直接访问 127.0.0.1就可以。如果是别的机器访问这台机器。则直接替换成这台机器的地址即可。
location ^~ /download/ 带边的是拦截包含 download的请求
alias /home/webhtml/; 是来配置下载文件的路径,也就是提供下载的文件要在这个路径下。
if ($request_filename ~* ^.*?.(html|doc|pdf|zip|docx|txt)$) {
add_header Content-Disposition attachment;
add_header Content-Type application/octet-stream;
}
这段代码,会去判断文件的后缀。以及提供下载功能。
Nginx限速三剑客
前言
- ngx_http_limit_req_module:用于限制请求速率。
- ngx_http_limit_conn_module:用于限制并发连接数。
- ngx_http_core_module:Nginx 的核心模块,提供了一般的 HTTP 配置和请求处理。
limit_req_module
1
2
3
4
5
6
7
8
9
10
11
12
13
14
15
| http {
limit_req_zone $binary_remote_addr zone=one:10m rate=5r/s;
server {
listen 80;
server_name example.com;
location /api/ {
limit_req zone=one burst=10;
}
}
}
|
在上面的示例中:
limit_req_zone 创建一个请求速率的为10m的内存区域该区域叫做one,通过$binary_remote_addr获取每个客户端IP,IP地址的请求速率都会在这个区域内进行跟踪,每秒不得超过5次请求。limit_req 指令用于在 /api/ 路径下限制请求速率。在此示例中,每秒最多允许5个请求,突发请求不超过10个。- 如果超过了请求速率Nginx返回429响应。
http_limit_conn_module
1
2
3
4
5
6
7
8
9
10
11
12
13
14
15
16
| http {
# 配置限制并发连接数
limit_conn_zone $binary_remote_addr zone=addr:10m;
server {
listen 80;
server_name example.com;
# 配置并发连接数限制
location / {
limit_conn addr 10;
# 其他配置
}
# 其他服务器块和配置
}
}
|
limit_conn_zone 创建一个并发连接限制的为10m的内存区域该区域叫做addr,通过$binary_remote_addr获取每个客户端IP,IP地址的请求速率都会在这个区域内进行跟踪。limit_conn 指令用于在其他路径下限制并发连接数。在此示例中,每个客户端最多允许10个并发连接。- 超出并发连接返回503响应。
http_core_module
Nginx 的 “限速三剑客” 通常指的是 ngx_http_limit_req_module、ngx_http_limit_conn_module 和 ngx_http_core_module,但 http_core_module 通常不包括在其中,因为它是 Nginx 的核心模块,主要用于全局 HTTP 配置而不是请求速率限制。
以下是一个简单的 Nginx 配置示例,演示如何在 http_core_module 中配置基本的全局 HTTP 设置:
1
2
3
4
5
6
7
8
9
10
11
12
13
14
15
16
17
18
19
20
21
22
23
24
25
26
27
28
29
30
31
32
33
34
35
36
37
38
39
40
41
42
| # 全局配置块
user nginx;
worker_processes auto; # 自动选择工作进程数量
error_log /var/log/nginx/error.log;
events {
worker_connections 1024;
}
http {
# HTTP全局配置块
include /etc/nginx/mime.types;
default_type application/octet-stream;
sendfile on; # 启用sendfile
tcp_nopush on; # 启用TCP NOPUSH
keepalive_timeout 65;
# 服务器块,定义虚拟主机
server {
listen 80; # 监听80端口
server_name example.com www.example.com;
location / {
root /var/www/html; # 静态文件的根目录
index index.html; # 默认索引文件
}
location /images/ {
alias /var/www/images/; # 使用别名来指定不同的目录
}
# 配置错误页面
error_page 404 /404.html;
error_page 500 502 503 504 /50x.html;
location = /50x.html {
root /usr/share/nginx/html;
}
}
# 其他服务器块和配置
}
|
在上面的示例中:
user 指令定义了 Nginx 进程的运行用户。
worker_processes 指令自动选择工作进程数量。
error_log 指令配置错误日志文件的位置。
events 指令定义事件模块的全局配置,包括工作进程数量和最大连接数。
http 指令块包含了 HTTP 配置的全局设置,如 MIME 类型、默认类型、文件传输等。
server 指令块定义了一个虚拟主机,指定了监听端口和服务器名称。
location 指令定义了不同 URL 路径的处理方式,包括静态文件的根目录和索引文件。
alias 指令用于创建一个虚拟目录,将 URL 映射到文件系统的不同位置。
error_page 指令配置了自定义错误页面,并将特定 HTTP 错误代码映射到相应的页面。
这只是一个简单的示例,您可以根据您的需求和网站配置来调整 Nginx 的 http_core_module 部分。此示例用于提供静态内容,但 Nginx 也可以配置为反向代理、负载均衡、SSL 终端等多种用途。
不停止Nginx业务,平滑升降级Nginx版本
大致思路:
1
| /usr/local/soft/nginx/sbin/nginx -V > /tmp/1.txt 2>&1 | cat /tmp/1.txt | grep prefix | awk '{print substr($0, index($0,$3))}' && rm -rf /tmp/1.txt
|
- 第三步把编译后的Nginx程序覆盖旧版本的Nginx程序,注意!!! 1、cp时候使用 - f参数,没有执行make install ,nginx程序在源码包的objs目录下
- 第四步通过USR2指令 和当前旧版本的进程ID启动新的Nginx主进程和工作进程,让新旧Nginx进程共同处理数据;
- 第五步通过WINCH指令逐渐关闭旧版本Nginx的工作进程;
- 第六步通过QUIT指令在主进程处理完最后服务后停止旧版本Nginx主进程,到这里升(降)级就结束了;
指令简介
1
2
3
4
5
6
7
8
9
10
11
12
13
14
15
16
17
18
19
20
21
22
23
| 主进程支持的信号
TERM,INT : 立刻退出
QUIT :等待工作进程结束后再退出
KILL : 强制终止进程
HUP : 重新加载配置文件相当于reload
USR1:重新打开日志文件,用于日志分隔
USR2:启动新的主进程,实现热升级
WITHCH:逐步关闭工作进程
工作进程支持的信号
TERM,INT:立刻退出
QUIT:等待请求处理结束后再退出
USR1:重新打开日志文件,用于日志分隔
|
服务升级前环境:
Nginx安装路径:/usr/local/soft/nginx/
nginx version: nginx/1.20.2

nginx 配置文件验证
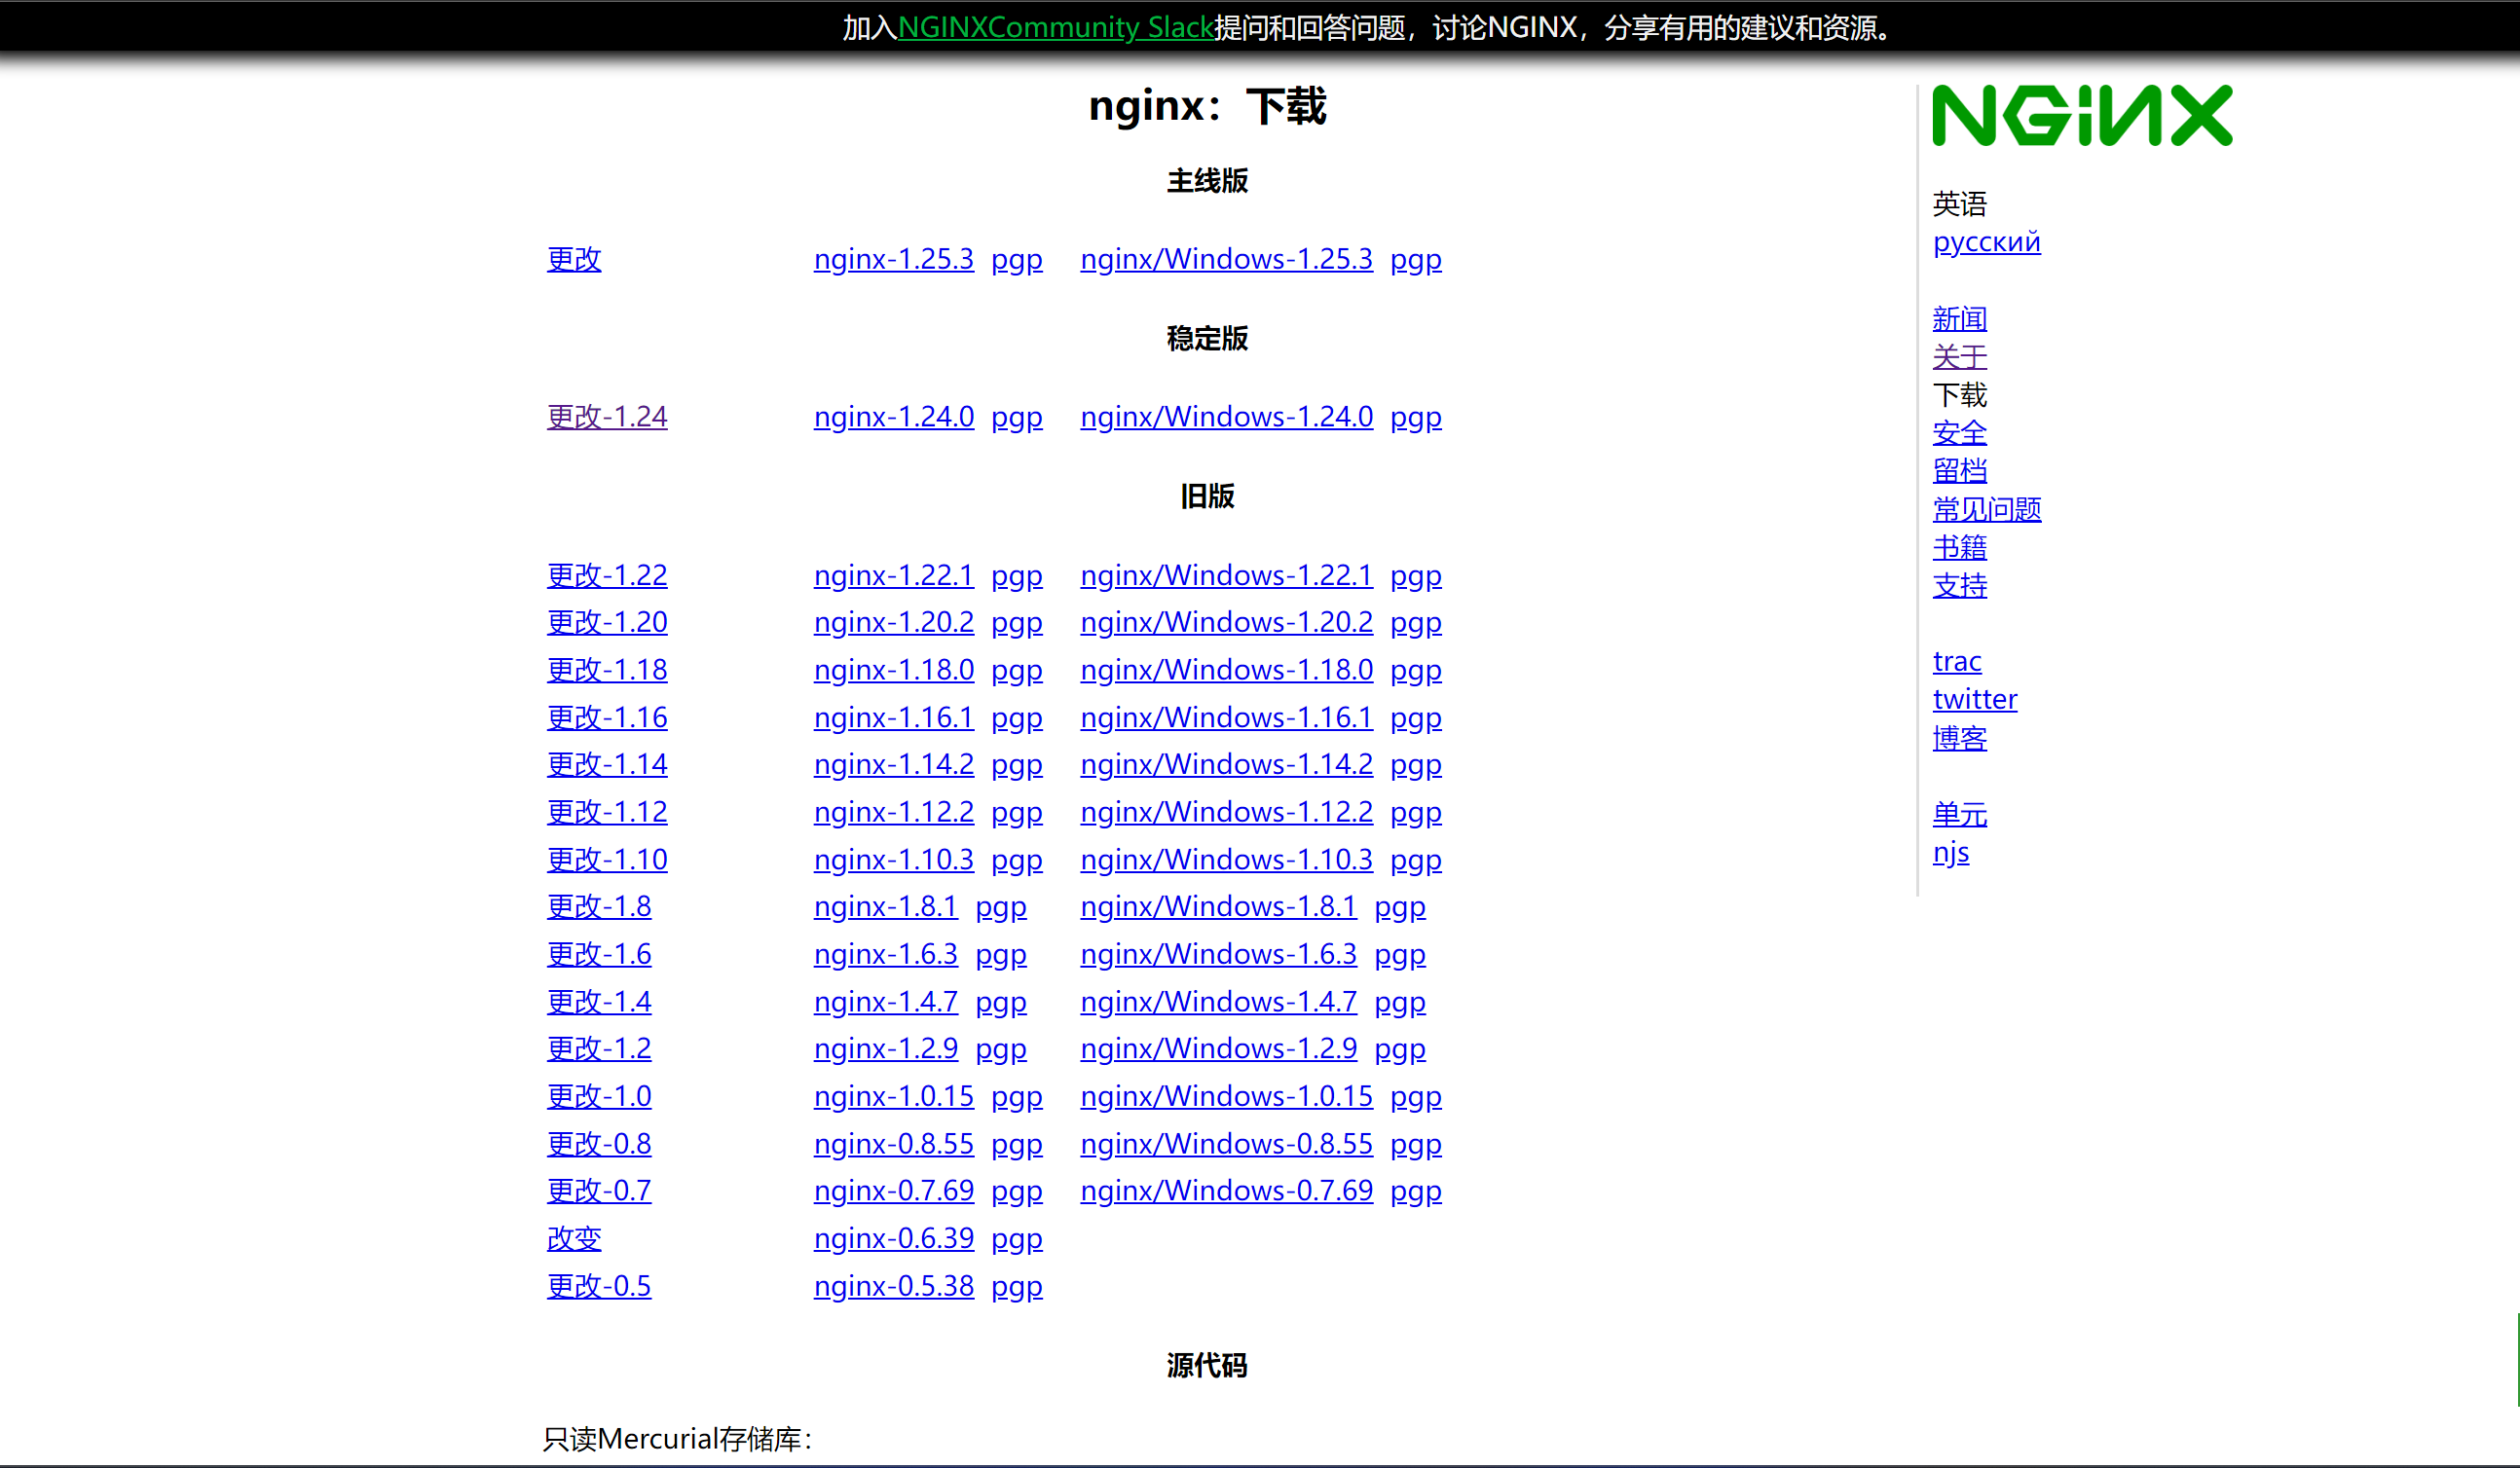
第一步
下载Nginx服务包,下载地址:https://nginx.org/en/download.html
第二步
1
2
3
4
| #解压
[root@localhost ~]# tar xvf nginx-1.24.0.tar.gz && cd nginx-1.24.0
#编译
[root@localhost nginx-1.24.0]# ./configure $(/usr/local/soft/nginx/sbin/nginx -V > /tmp/1.txt 2>&1 | cat /tmp/1.txt | grep prefix | awk '{print substr($0, index($0,$3))}') && make && rm -rf /tmp/1.txt
|
第三步
1
2
3
4
5
6
7
8
9
10
11
12
| **#旧版本服务完整备份 !!!**
[root@localhost ~]# tar cvf nginx_bak.tar.gz /usr/local/soft/nginx/
#新版本Nginx覆盖旧版本Nginx
[root@localhost nginx-1.24.0]# cp -f objs/nginx /usr/local/soft/nginx/sbin/
cp:是否覆盖"/usr/local/soft/nginx/sbin/nginx"? y
#Nginx版本检测是否复制成功
[root@localhost nginx-1.24.0]# /usr/local/soft/nginx/sbin/nginx -v
nginx version: nginx/1.24.0
#验证复制后的Nginx程序和当前的Nginx配置文件是否运行存在问题
[root@localhost nginx-1.24.0]# /usr/local/soft/nginx/sbin/nginx -t
nginx: the configuration file /usr/local/soft/nginx//conf/nginx.conf syntax is ok
nginx: configuration file /usr/local/soft/nginx//conf/nginx.conf test is successful
|
第四步
1
2
3
4
5
6
7
8
9
10
11
12
13
14
15
16
17
18
19
20
21
| #检测当前进程
[root@localhost nginx-1.24.0]# ps -ef | grep nginx
root 91949 1 0 11:11 ? 00:00:00 nginx: master process /usr/local/soft/nginx/sbin/nginx
nginx 91950 91949 0 11:11 ? 00:00:00 nginx: worker process
root 95347 2085 0 11:20 pts/0 00:00:00 grep --color=auto nginx
#启动新的进程
[root@localhost nginx-1.24.0]# kill -USR2 $(cat /usr/local/soft/nginx/logs/nginx.pid)
[root@localhost nginx-1.24.0]# ps -ef | grep nginx
root 91949 1 0 11:11 ? 00:00:00 nginx: master process /usr/local/soft/nginx/sbin/nginx
nginx 91950 91949 0 11:11 ? 00:00:00 nginx: worker process
root 95320 91949 0 11:20 ? 00:00:00 nginx: master process /usr/local/soft/nginx/sbin/nginx
nobody 95321 95320 0 11:20 ? 00:00:00 nginx: worker process
root 95347 2085 0 11:20 pts/0 00:00:00 grep --color=auto nginx
#启动新的进程后会生成一个nginx.pid.oldbin来存储旧的Nginx进程ID
[root@localhost nginx-1.24.0]# ll /usr/local/soft/nginx/logs/
总用量 76
-rw-r--r--. 1 root root 65438 1月 8 11:23 access.log
-rw-r--r--. 1 root root 786 1月 8 11:20 error.log
-rw-r--r--. 1 root root 6 1月 8 11:20 nginx.pid
-rw-r--r--. 1 root root 6 1月 8 11:11 nginx.pid.oldbin
[root@localhost nginx-1.24.0]#
|
第五步
1
2
3
4
5
6
7
8
| #逐渐关闭旧版本的Nginx的工作进程
[root@localhost nginx-1.24.0]# kill -WINCH $(cat /usr/local/soft/nginx/logs/nginx.pid.oldbin)
[root@localhost nginx-1.24.0]# ps -ef | grep nginx
root 91949 1 0 11:11 ? 00:00:00 nginx: master process /usr/local/soft/nginx/sbin/nginx
root 95320 91949 0 11:20 ? 00:00:00 nginx: master process /usr/local/soft/nginx/sbin/nginx
nobody 95321 95320 0 11:20 ? 00:00:00 nginx: worker process
root 96039 2085 0 11:22 pts/0 00:00:00 grep --color=auto nginx
[root@localhost nginx-1.24.0]#
|
第六步
1
2
3
4
5
6
7
8
9
10
11
| [root@localhost nginx-1.24.0]# ps -ef | grep nginx
root 91949 1 0 11:11 ? 00:00:00 nginx: master process /usr/local/soft/nginx/sbin/nginx
root 95320 91949 0 11:20 ? 00:00:00 nginx: master process /usr/local/soft/nginx/sbin/nginx
nobody 95321 95320 0 11:20 ? 00:00:00 nginx: worker process
root 97081 2085 0 11:25 pts/0 00:00:00 grep --color=auto nginx
[root@localhost nginx-1.24.0]# kill -QUIT 91949
[root@localhost nginx-1.24.0]# ps -ef | grep nginx
root 95320 1 0 11:20 ? 00:00:00 nginx: master process /usr/local/soft/nginx/sbin/nginx
nobody 95321 95320 0 11:20 ? 00:00:00 nginx: worker process
root 97131 2085 0 11:25 pts/0 00:00:00 grep --color=auto nginx
[root@localhost nginx-1.24.0]#
|
到这里升级就完成了访问Nginx页面,版本如下:
附录
实验期间检测Nginx升级时候有没有页面访问有没有掉,参考下面脚本:
1
2
3
4
5
6
7
8
9
10
11
12
13
| #!/bin/bash
while true
do
sleep 1
curl -i http://192.168.101.1 &>/dev/null
if [ $? -ne 0 ];then
echo "`date +%H:%M:%S` Nginx 业务停止"
fi
done
~
|